If you are a solo or duo electro music act, you soon find that it's difficult to do a full sound live. You use both hands to play your instrument (or two), but you can't really cover drums, bass and leads without resorting to pre-recorded loops or loop pedals. What's the best way around this? Use your feet! They're probably tapping in time to the music as you play anyway...
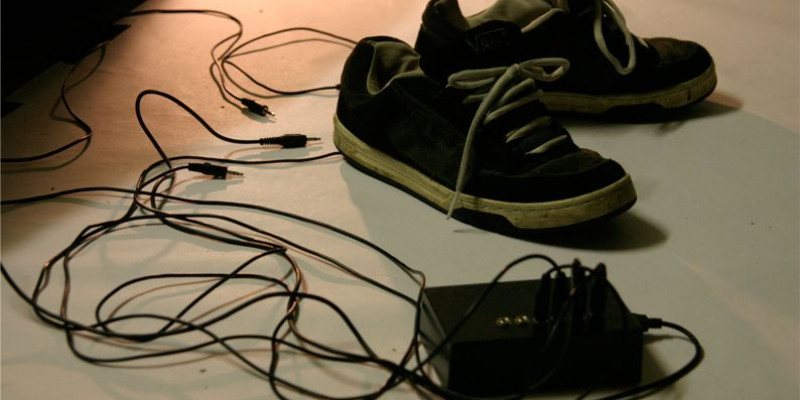
There's a few different ways you can do this; you could get a MIDI controller board that sends data out as you hit the switch, or you can take off your shoes and socks and play a keyboard with your toes. But we're makers... If you think of the way your feet move, you can get 2 different hit points on each foot. One on the heel, and one at the toes. Using this method, Thobson of Instructables has created shoes that output MIDI by tapping your feet.

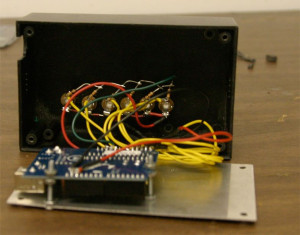
Each of the hit points uses a force sensitive resistor. This allows you to compute the velocity of your tap, and convert this to a MIDI velocity - a harder tap results in a louder sound. Each of these resistors are places on the sole of the shoes, and fed into an Arduino board. To tidy up the design, he has created a jack socket in the back of the shoe. This means you can turn up to your gig and plug your shoes in! All the electronics are mounted in an external enclosure, tidying up the design and allowing for portability.
The Arduino sketch reads the values of the resistors, and creates MIDI notes with them. This data is then sent to a computer using a serial connection. An app on the computer then converts this data to MIDI notes to use in your favourite software. Similar to other projects that communicate this way, the whole communication process can be made to output MIDI directly by using a Teensy board, or HIDuino.
This is a fantastic project for a beginner maker who is interested in music, as it's simple to make, and offers loads of flexibility. There's nothing to stop you hooking up the shoes to Ableton Live, and use them to trigger loop points, effectively creating a loop pedal. You can read more about the build on the Instructables page.
