
Getting your Arduino up and running is very easy to do, but you need to do a few things before you can start with your Arduino projects. Once you're up and running, you don't need to do the setup again. The setup is a little different between Mac & PC, and there is a different walk-through for each. We won't cover Linux here as it's different for different distributions, and Linux users will generally know how to get stuff up and running.
This guide is for the Arduino Uno, and the Arduino Mega 2560. These are the most common of the Arduinos, and the ones you probably have - more information about these boards can be found on our The Different Types Of Arduino page. If you have an older or different model, there are separate guides over at Arduino's website.
After you have read this post, check out part 2 which explains all about the common components you will come across.
Getting Started with Arduino on Windows
All you need is your Arduino, and a USB cable. Make sure you have the correct USB cable - you need a standard A-to-B lead. Download a copy of the latest Arduino software. After you have downloaded the file, un-zip it and you should have a folder with all the Arduino software in it. You can place this anywhere you like. A good idea is to place it in the C:\Program Files folder, in a sub-folder named Arduino, so it shouldn't accidentally be deleted. You can create a shortcut to the Arduino software for in your start menu etc.
Plug in your Arduino. Windows will try to install the drivers, but will fail. From the Start menu, go to Control Panel > System and Security > System > Device Manager (or on later versions of Windows, type 'Device Manager' in the Start menu search box. In the Ports (Com & LPT) section there should be a port named Arduino UNO (COMx) with a warning symbol (This will have slightly different wording if you are using a Mega 2560). Right-click this and select 'Update Driver Software'. From this window, you need to manually browse your computer for the driver folder. You need to select the folder 'drivers'. Windows will look in this folder and install the necessary drivers.
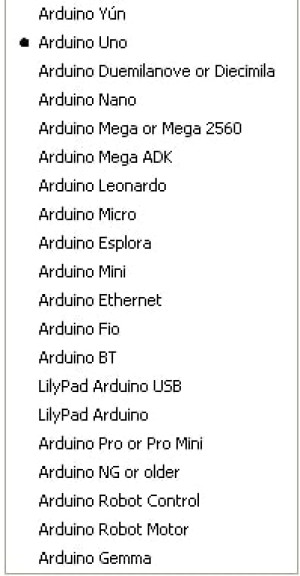
Now open the Arduino application you downloaded, and, from the menu, select File > Examples > 1.Basics > Blink. You should see the code for a basic sketch. Go to Tools > Board, and select your board from the dropdown menu. There are many different boards to choose from but is it important to choose the correct model in this list. Now select the serial port you are connected to by selecting Tools > Serial Port. Port COM 3 is the most common, but you can disconnect and reconnect your Arduino to see which one it is. If you unplug your Arduino and look in the menu, When you re-open the menu with the Arduino plugged back in you should see a new COM port.
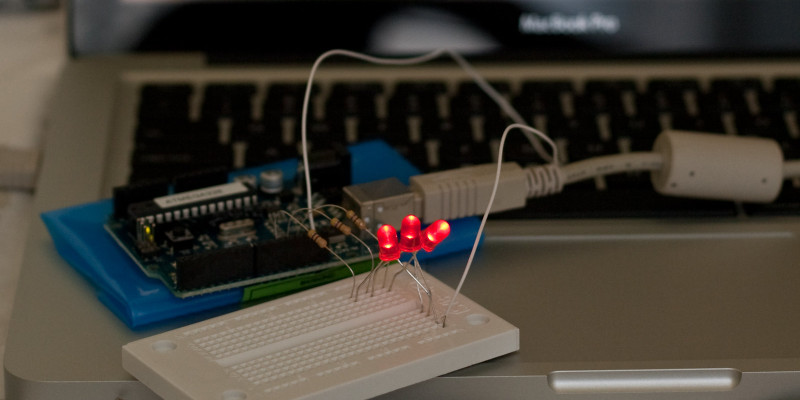
Click on the 'upload' button. After a few seconds the code will compile and upload to your Arduino board. You should see the LED near pin 13 (marked 'L') begin to flash. If there is any problem with uploading, you probably have the wrong board or serial port selected.
Congratulations you have just created your first sketch! Now you know that getting started with the Arduino isn't difficult at all. Happy Arduino-ing!
Getting Started with Arduino on Mac OSX
All you need is your Arduino, and a USB cable. Make sure you have the correct USB cable - you need a standard A-to-B lead. Download a copy of the latest Arduino software. After you have downloaded the file, un-zip it and you should have a folder with all the Arduino software in it. You can place this anywhere you like. A good idea is to place it in the** /Applications** folder.
Plug in your Arduino. You have no drivers to install on a Mac! A dialog box should appear on your computer to inform you a network interface has been plugged in. Click 'Network Preferences...', and on the new window click 'Apply'. It will show up as not configured, but this is normal
Now open the Arduino application you downloaded, and, from the menu, select File > Examples > 1.Basics > Blink. You should see the code for a basic sketch. Go to Tools > Board, and select your board from the dropdown menu. There are many different boards to choose from but is it important to choose the correct model in this list. Now select the serial port you are connected to by selecting Tools > Serial Port. The port name will begin with /dev/tty.usbmodem. This may make so sense with regards having the Arduino name in it. If you have more than 1 you may have to try a different one.
Click on the 'upload' button. After a few seconds the code will compile and upload to your Arduino board. You should see the LED near pin 13 (marked 'L') begin to flash. If there is any problem with uploading, you probably have the wrong board or serial port selected.
Congratulations you have just created your first sketch! Now you know that getting started with the Arduino isn't difficult at all. Happy Arduino-ing!